Making Ice Cream The Old Fashioned Way
Posted by Janeen Leynes on Thursday, June 3rd, 2010Tags for this Article: dairy, dessert, frozen, homemade, ice, ice cream, strawberry, summer, treat
I have great memories of the first time I made ice cream as a kid. We used ice and salt, placed the cream mixture in a sandwich bag. The bag is placed in the can with the ice and salt, then we rolled the can down the sidewalk. It was amazing to us, how fast it worked. This was our first lesson in thermodynamics, if only learning science could be this tasty all the time.
Ingredients:
- ¼ cup sugar
- 1/8 tsp salt
- 1 cup milk
- 3 egg yolks
- 2 cups heavy cream
- 1 Tbls vanilla
- 2 cups fresh strawberries
- extra ¼ cup sugar for the strawberries
- 8 cups ice
- 1 cup salt (To be added to ice)
Method:
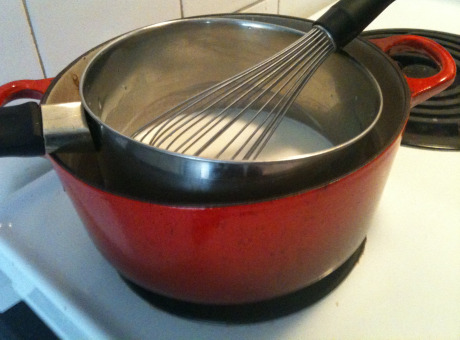
Add milk, sugar, and salt in a pot using a double boiler. Whisk the milk mixture until just before the boiling point. You don’t want to scald this mixture, as it will effect the taste. Stir in the three egg yolks slowly, and continue whisking over the double boiler until custard begins to bubble slightly (The mixture will be as thick as a creme anglais). Let cool to room temperature.
After the milk mixture has cooled, stir in the vanilla and heavy cream and set aside in the refrigerator.
Prepare the 2 cups of strawberries by washing, and removing the hulls. Place the strawberries in the blender with the 1/4 cup of sugar. Blend together, leaving chunks of strawberry for better flavor. Add strawberries to the cream.
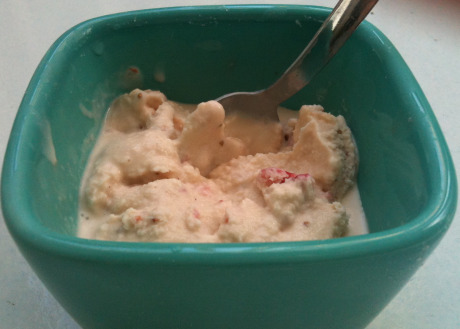
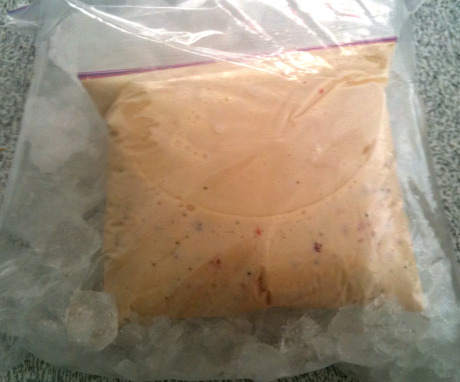
Now lets start making ice cream! Fill one large freezer bag 3/4 full with ice. Add 1 cup of salt to the ice. Fill the 4 smaller sandwich bags with 1/4 of the cream mixture each. The smaller amounts, allow for more contact with the ice and thus freezes much quicker. Place one of the cream filled bags into the larger bag of ice, moving it around to fully surround the smaller bag. Keep rolling the ice bag around so the ice cream freezes consistently. After 10-15 minutes your homemade ice cream is ready to eat.
If you have leftovers, you can keep it in the freezer for up to 10 days. The consistency does change after being in the freezer, but if you leave the ice cream out for 5 minutes before serving, it will soften up. You may also use this same recipe to make coffee, matcha tea, or chocolate ice cream. Just add your flavor to the cream in replace of the strawberries.
Enjoy!


Posted on June 4th, 2010
degan says:
wow, that’s so great! I totally want to make some this weekend.
Posted on June 4th, 2010
matthew says:
I was wondering a couple of nights back if I could make ice cream without the maker, thanks for providing the answer!
Posted on June 9th, 2010
James Wallace says:
Oh ice cream!
This is exactly how my Grandpa and I use to make it.
One thing we use to do was instead of plastic bags we use to fill old Maxwell House coffee tins.
My kids and I still make it this way – the tins get colder faster and make for a great way to store it.
Posted on July 5th, 2010
Guy Froid says:
I haven’t tried this and perhaps I will, but as a student of physics (who likes the kitchen) I’m convinced this won’t give the same result as you would get from an ice cream maker since the contents of the bags are not stirred (as well). I’m convinced this process would very effectively freeze the ice cream, the result might not be much different from simply putting the bag into a regular freezer.
I suppose that the latter method is neither very effective (then again — how would I know? — I haven’t tried it!) nor is it as much fun as the method described here.