Make yogurt with your fileserver
Posted by Steven Luscher on Sunday, September 26th, 2010Tags for this Article: DIY, homemade, yogourt, yogurt
Listen, yogurt is expensive, and I’m cheap.
Somewhere along the way I acquired a taste for the stuff, and now I have a yogurt addiction. To satisfy my habit, I usually buy whatever’s on sale – quality or not. Here’s the thing though: milk is cheaper than yogurt, and bacteria split for free.
The only thing stopping me from making my own yogurt was the notion of having to introduce another piece of single-use hardware into my kitchen: an incubator. Wasted heat in the home, however, is not hard to come by. Upon reflection, I realized that I’ve had the perfect incubator right under my nose all along.
Taking this yogurt making article‘s lead, I proceeded as follows:
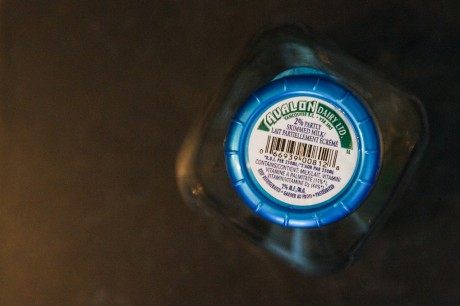
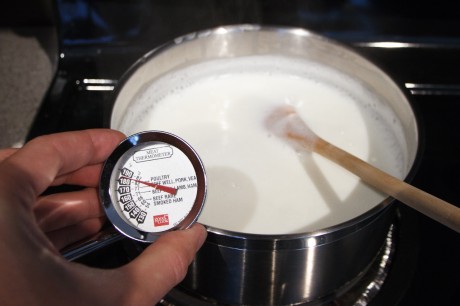
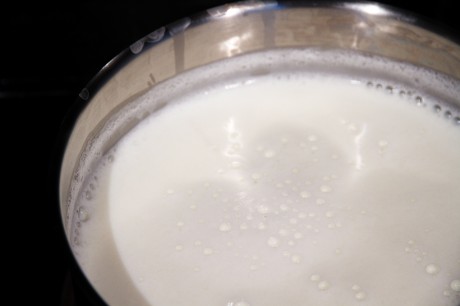
1) Starting with 1 litre of 2% milk from Avalon Dairy Ltd. ($2.41 at Marketplace IGA downtown Vancouver) quickly heat the milk to 85°C, stirring occasionally. Heat it slowly if you find that you have an attention deficit.
You’re supposed to use a candy thermometer to keep an eye on the temperature, but I used a meat thermometer instead. One day I will ruin it by dropping it in the milk. Hey, if you want to buy me a real candy thermometer, please do!
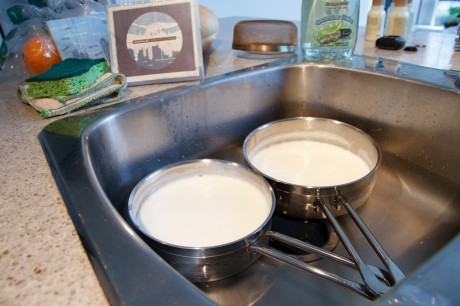
2) Plug your sink and draw a cold water bath to quickly cool the milk to 43°C. Any hotter and you’ll kill all of the bacteria you’re about to introduce. Too much cooler and they won’t feel like dividing as quickly. Try to hit the temperature bang on.
3) Spoon a little bit of the tepid milk into 2 tablespoons of plain yogurt at room temperature, mix it around, then return it to the saucepan. Start with yogurt that has “active cultures” printed on the label. After your first batch, you’ll be able to use your previous batch’s yogurt as starter for your next one.
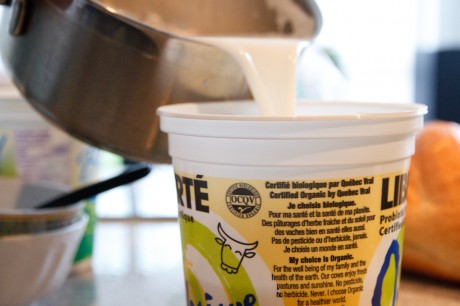
4) Pour your bacteria/milk mixture into clean containers.
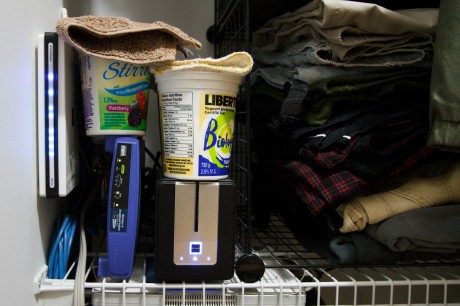
5) Find a warm place to incubate the yogurt, and cover the containers with cloth. I’ve chosen the top of my server hardware as the place where I incubate my yogurt, and it works well! Search out a hot spot in your home and put that waste heat to good use.
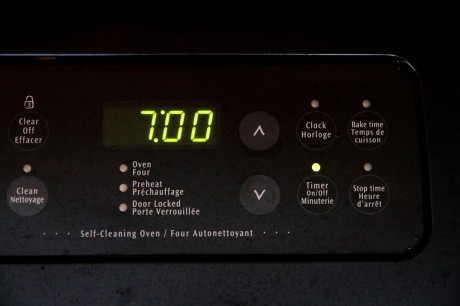
6) Set the timer for 7 hours. The longer you let it go, the more tangy the yogurt will become. In any case, the contents should appear to be the consistency of custard, topped with a layer of liquid (whey).
7) Stir the yogurt well, and refrigerate it overnight.
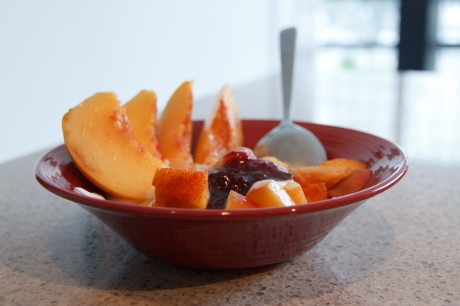
This has become my typical morning breakfast: slices peaches covered in homemade yogurt, with a spoonful of jam and a drip of vanilla extract. Your yogurt will likely not be as thick and creamy as the store bought stuff, but at least you’ll know what went into it.



Posted on September 27th, 2010
Dave S. says:
This seems like something I’d be inclined to try sometime. Aside from a warm fuzzy feeling inside, are you actually noticing it’s any different than a good premium store-bought yogurt? You said the texture’s different, how about the taste? And is it actually that much different cost-wise when you compare the yield to the equivalent amount you’d buy in a store?
Posted on September 27th, 2010
Steven Luscher says:
Remember, I’m a cheap eater, not a quality eater; to me it tastes “just fine.” On the subject of economics, however, I have lots to say. Who better to speak my mind for me, though, than Boing Boing‘s Mark Frauenfelder, in this article on the economics of making your own yogurt.
The top line: it’s between 1.38 times as cheap (comparing quality input milk to fire-sale manufactured yogurt) and 3.9 times as cheap (comparing cheap input milk to expensive manufactured yogurt).
Posted on October 7th, 2010
philltran says:
Awesome. Way to make use of “wasted” heat. I’m gonna try this one out for some “fresh” yogurt.
Posted on October 9th, 2010
Marilyn Califf says:
I have been making my own yogurt for several years. I am lactose intolerant and can buy the lactos free milk here in Memphis. We also are lucky that the Lactaid Co. send their cottage cheese here also. I use a pint of Dannon plain yogurt to make 5 pints of lactose free yogurt with a half gallon of lactose free milk. I heat the milk to 118 degrees F. At that temperature the milk won’t kill the bacteria in the yogurt. I stir the yogurt into the warm milk and then into clean jars with tight fitting lids. I place them on an old heating pad and put the controls on low. I place about three layers of dishtowels over it all and let it sit overnight or at least 8 hours. This makes a very creamy yogurt. I refrigerate the jars right away. When I open each jar I pour off the liquid that is on top, because that is whey and I am not sure if it is free of lactose. I really miss cheeses. I read on another website that the Springbank Cheese Co. makes lastose free cheeses. Does anyone have experience with them?
Posted on October 28th, 2010
R. S. says:
I make yogurt regularly. Heat to 95C while making dinner, cool to 55C-50C while eating dinner, add yogurt, strain into a 2 liter plastic pitcher and wrap in towels to keep warm, usually overnight. I’m using an electronic roasting thermometer with alarm ($30 or so), which has radically reduced the number of accidents with milk boiling over. Milk that has been badly boiled will not make yougurt at all, ended up throwing out two liters once, not nice.
Posted on August 28th, 2011
Steven Luscher says:
An update: I’ve replaced my Vonage-locked Linksys WRT54GP2 with a Linksys PAP2T. It’s just as warm, and far less precarious a resting spot for a container of yogurt. http://post.ly/30yGa